|
| Frog Mask |
Yarn: Cotton yarn in green (MC), white (C1), red (C2) and black (C3) color. For my sample I used Sugar and Cream yarn.
Yardage: 140 - 150 yards (128 - 137 meters) of MC, and 15 yards (14 meters) each of C1, C2, C3.
Recommended Needle Size: US # 7 / 4.5 mm, and DPN US # 7 / 4.5 mm (set of 5).
Notions: Yarn needle, scissors, stitch marker, polyester fiberfill (1 small bag), 10" (26 cm) long and 7" (18 cm) wide rectangular piece of cotton fabric to add layer to the mask.
Abbrevations:
C1, C2, C3 = Contrast Color
CO = Cast On
DPN = Double Pointed Needles
K = Knit
K2tog = Knit two sts together, this decreases two sts to one st.
K3tog = Knit three sts together, this decreases three sts to one st.
KFB = Knit in front and bag of the same st, this creates two sts from one st.
MC = Main Color
P = Purl
PM = Place Marker
RH = Right Hand
Rnd, Rnds = Round, Rounds
SSK = Slip st, slip st, and knit the two sts together, this decreases two sts to one st.
St, Sts = Stitch, Stitches
W & T = Wrap and Turn
Gauge: 20 sts & 26 rows 4" (10 cm) in stockinette stitch.
Techniques:
I-cord:
Bind off with I-cord:
I-cord string:
Short Rows:
Three Needle Bind Off:
Notes: This mask will not protect you. However, it might protect others from your cough.
In time of distress, I tend to find solace in knitting. Over the past week I was talking with my mom via Skype about the current situation in her country. While we were talking, she was telling me about the lack of face masks, and how she and many other people are sewing them from cotton fabric. Based on these conversations I started to make some sketches and decide to create a mask on my own. One that has a bit of whimsy, and has the added layer of cotton fabric. I used cotton yarn for the mask, therefore it's possible to sterilize it.

Instructions:
When casting on leave a longer tail to use later for sewing.
Mask:
With the MC yarn CO 42 sts.
Row 1: K1, P1
Row 2: P1, K1
Row 3: Knit
Row 4: Purl
Row 5: Short Rows sections:
Short Row 1: K37, W&T
Short Row 2: P32, W&T
Short Row 3: K27, W&T
Short Row 4: P22, W&T
Short Row 5: K17, W&T
Short Row 6: P12, W&T
Short Row 7: Knit to end
Row 6: Purl
Rows 7 - 10: Repeat Rows 3 - 6, including the short rows.
Rows 11 - 14: Repeat Rows 3 - 6, including the short rows.
Cut the yarn, leaving the live stitches on needle.
String with the leg:
With the MC yarn and DPN, CO 12 sts. Place the stitch marker on the first st and begin working in the round.
Rnds 1 - 3: Knit
Rnd 4: SSK 6x ( 6 sts total)
Continue to work the sts as I-cord for 14" (36 cm).

Join the live stitches on the mask with the I-cord string and continue with I-cord BO.

After the I-cord BO continue with I-cord for another 14" (36 cm).
Then continue in the rounds:
Rnd 1: KFB 6x (12 sts)
Rnds 2 - 4: Knit
BO in Three Needle BO technique.
Lower Side string (make 2) :
With MC pick up 6 sts along the lower corner of the mask. Make I-cord approximately 14" (36 cm) long.
Then continue in the rounds:
Rnd 1: KFB 6x (12 sts)
Rnds 2 - 4: Knit
BO in Three Needle BO technique.
Repeat for the second string.
Eyes (make 2):
With MC yarn and DPN, CO 6 sts. Place the stitch marker on the first st and begin working in the round.
Rnd 1: Knit
Rnd 2: (KFB, K1) 3x (9 sts total)
Rnd 3: Knit. Cut off MC, attach C1.
Rnd 4: Knit
Rnd 5: (SSK, K1) 3x (6 sts total)
Slightly stuff the eye with fiberfill. Cut the yarn, leaving long enough tail, and thread the end on a yarn needle. Pull the end through the remaining sts on needle, gather up and close the hole, stitch to secure.
Repeat for second eye.
Tongue:
With the C2 yarn and DPN, CO 6 sts. Place the stitch marker on the first st and begin working in the round.
Rnds 1 - 2: Knit
Rnd 3: (K3tog) 2x (2 sts total)
Cut the yarn, leaving long enough tail, and thread the end on a yarn needle. Pull the end through the remaining sts on needle, gather up and close the hole, stitch to secure.

Finishing:
With the tail from the CO sts sew the two eyes to the upper part of the mask about 4" (10 cm) apart, sew the tongue in the middle between the two eyes, about 2" (5 cm) from the top. With C3 yarn (black yarn) embroider the eyes and a fly on the tongue.
Fabric Lining:
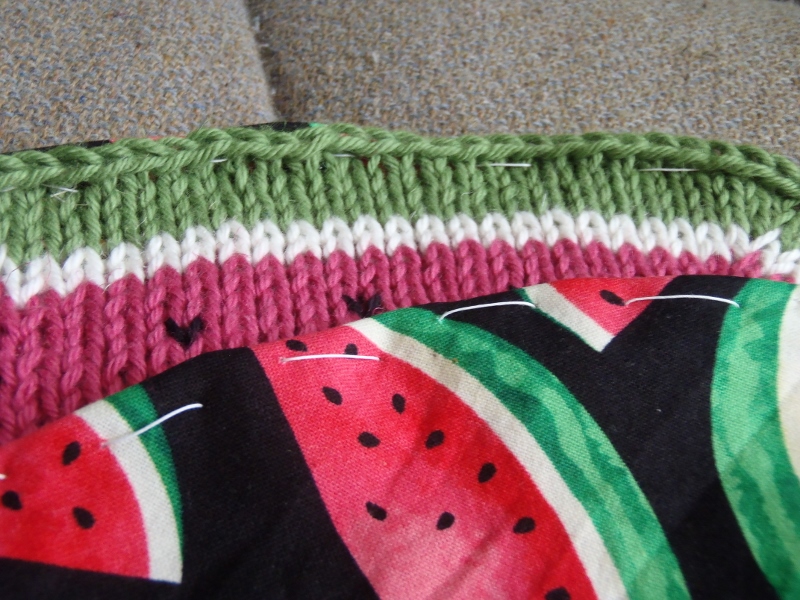
Make a template of your frog mask onto a piece of apper. Cut out the template, and make sure it fits inside the knitted mask. Cut the shape 0.5" (1.5 cm) wider than the knitted piece. Lay out the fabric right side out against the knitted piece and pin the two layers together. Fold the cut fabric along the edge. Sew the two pieces along the edges.
See the pictures bellow.


Copyright:
This pattern was design and written by Stana D.S. Please acknowledge the author.
Stay safe.
Thank you.